Installing EasyBases
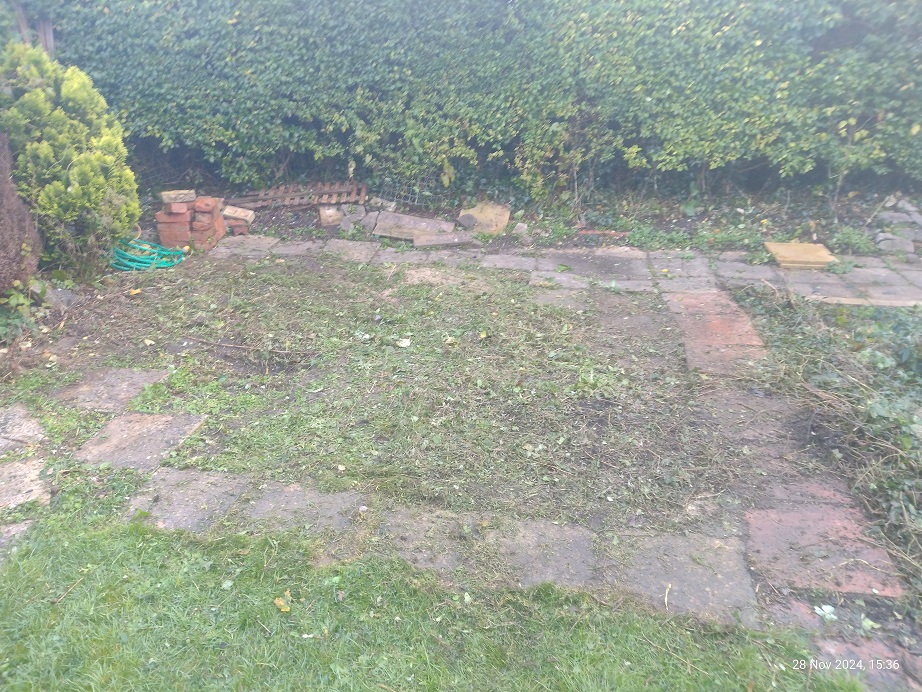
From this..
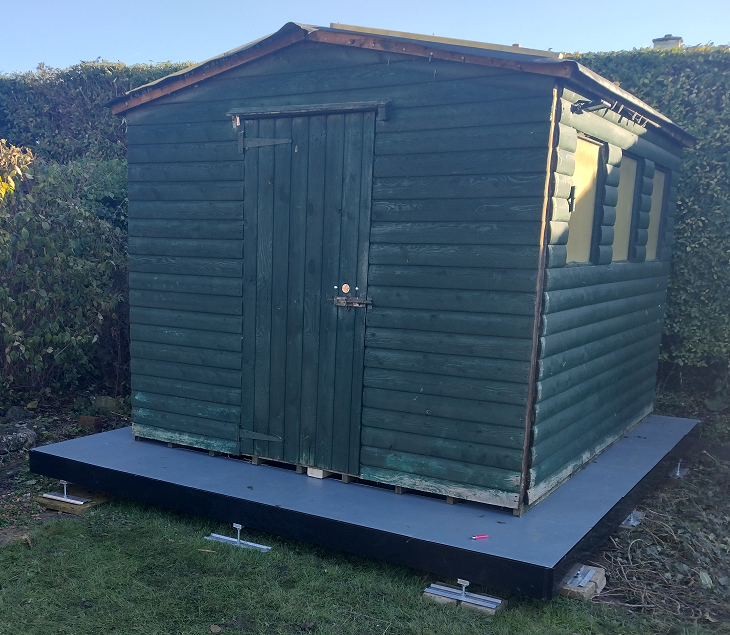
To this…
Build Process Guide
Installing EasyBases, EasyFrames and EasyFloors, has been designed to allow assembly with minimal complexity and tools.
This means;
- No drilling to fix bolts at any point on the frame.
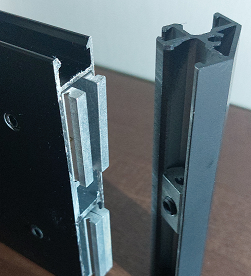
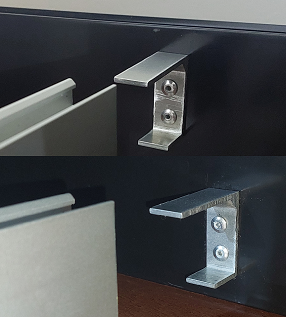
- Cross-beams that slot into riveted supports.
- Pre-fitted hex bolts to fix corners.
- Tiles that slot perfectly into place.
Tools required;
- to assemble EasyFrames – 4mm Hex key
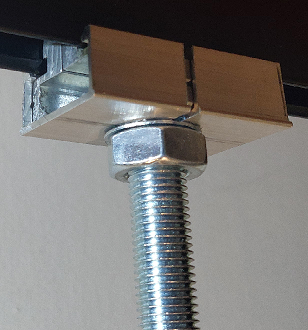
- to assemble EasyFrames with adjustable feet – 4mm Hex key and M12 spanner and or adjustable pliers.
Before getting started, have you considered whether you may need planning permission? If not, please take a look at this page to make sure your project goes smoothly.
Base Build Steps
- Determine required dimensions, whether levelling feet or your own means of levelling will be used and place your order. We will be happy to advise on any aspect of your order.
- Prepare base location for your desired frame configuration. This could be concrete, soil, ground screws, patio, roof terrace, bricks(!)…
- Follow below as your installation requires.
- If laying frame only;
- Attach corner connecting bracket to two parallel frame lengths,
- Connect frame and support rails,
- Tighten remaining corner bolts,
- Place frame and install structure.
- If laying frame and levelling feet;
- As above with the addition of the feet inserts during frame assembly.
- Once frame is in place, adjust to level desired using spanner or pliers (for example, hot tubs may require an angle for run-off).
- If at all required, make a final adjustment to feet after structure is in place.
- If laying frame and floor tiles, with or without feet;
- Once frame is assembled and in-situ, simply lay tiles into assembled frame. Mind your fingers!
- If laying frame only;
It is that easy!
